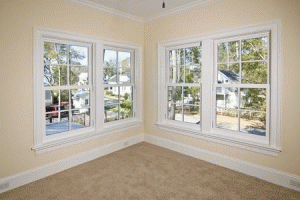
 If you are looking for a simple way to enhance the appearance of your home without a major renovation, consider adding some crown molding. Crown molding can increase the value of your home, and it is actually a fairly easy project that you can do yourself. Just be sure to learn how to do it properly before you try. DIY Crown Molding Tips The beauty of crown molding is that it can be added to any room in your house for a quick boost of class. As long as you have the right tools, installing crown molding isn’t even very difficult. To begin, you’ll need to take accurate measurements of the room and then purchase a little extra to give yourself some wiggle room. Once you’ve measured your crown molding, you’ll need to cut it to size and use a miter saw to cut the angles where the pieces will come together at the corner. You might want to practice your cuts on some scrap wood before you go for the real thing just to make sure you get it right. When it comes time to install the crown molding, you’ll need to nail it to the studs in the wall along the bottom edge of the molding and to the ceiling joints along the top. In order to find the studs and joists, you’ll need a stud finder and a pencil to mark the locations. To make your job a little easier, consider attaching backer board to the wall at the studs so you can just nail the crown molding to that instead. Then, all you need is some wood glue and a nail gun to make the installation. By following the tips above, you can greatly increase the value of your home with minimal effort. Crown molding will not only add value to your home, but it will enhance your home’s appearance as well.

 (813) 732-8121